Quick Start Guide
This guide will help you get started with the Talkscriber Live Transcription Websocket API quickly.
Talkscriber Python Client Setup
This README provides clear, step-by-step instructions on how to set up and run the Talkscriber client using a Conda environment. It's structured to be user-friendly, guiding a user from installing the required software, setting up the environment, installing dependencies, and finally, running the live client.
Follow these instructions to set up the Talkscriber client in a Conda environment.
Prerequisites
Before you begin, ensure you have the following:
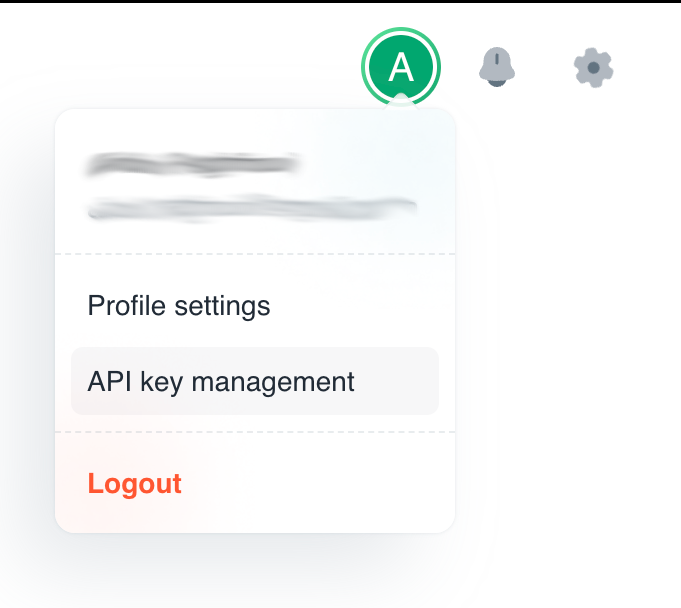
- A Talkscriber account, by loggin into the Dashboard
- API credentials (API key)
- Python 3.7+ installed
- Anaconda or Miniconda installed on your machine. Visit Anaconda's website for installation instructions.
Setup Environment
- Clone the ts-client repository:
git clone https://github.com/Talkscriber/ts-client.git
cd ts-client/python
-
Create and Activate the Conda Environment:
- Open your terminal.
- Create a new Conda environment with Python 3.9:
conda create --name talkscriber python=3.9 - Activate the newly created environment:
conda activate talkscriber
-
Install Required Packages:
- Ensure you are in the project directory where
requirements.txtis located. - Install the necessary Python packages using pip:
pip install -r requirements.txt
- Ensure you are in the project directory where
Running the Client
Authentication
To authenticate with the Talkscriber API, generate an API key from the Talkscriber dashboard:
from ts_live.client import TranscriptionClient

TS_API_KEY = "YOUR_API_KEY"  # Replace with your API key

client = TranscriptionClient(
    host="wss://api.talkscriber.com",
    port=9090,
    api_key=TS_API_KEY,
    multilingual=False,
    language="en",
    translate=True
)
Supported Languages
For a list of supported languages, refer to Appendix.
Running the Client
The client.py can be run in two modes: mic and file.
Mic Input
To use the microphone for live transcription:
client() # For Mic input
File Input
To transcribe an audio file (let's call it test.wav):
client('test.wav') # For file input
- Run the client.py:
python client.py
- See
client.pyfor specific configuration details before running.
Conclusion
That's it! You are now connected to the Talkscriber API and receiving live transcriptions. For more advanced features and detailed API references, check out the official documentation.